Salesforce CRM Integration
The Salesforce CRM integration is designed to ensure important Form data captured on your sites is synced to Salesforce as the system of record. It is a one-way integration that sends Clive's Form submissions to Salesforce as Leads or Contacts.
The integration can be configured to map and send particular attributes gathered in forms to specific fields in Salesforce.
Salesforce CRM integration is live and available for Enterprise account plans. Click here to check your plan.
Installing the Clive managed package
Clive requires that a Salesforce managed package be installed for the Salesforce integration to operate. To install the managed package, click the button below which will take you to login to Salesforce.
Install the Clive managed package
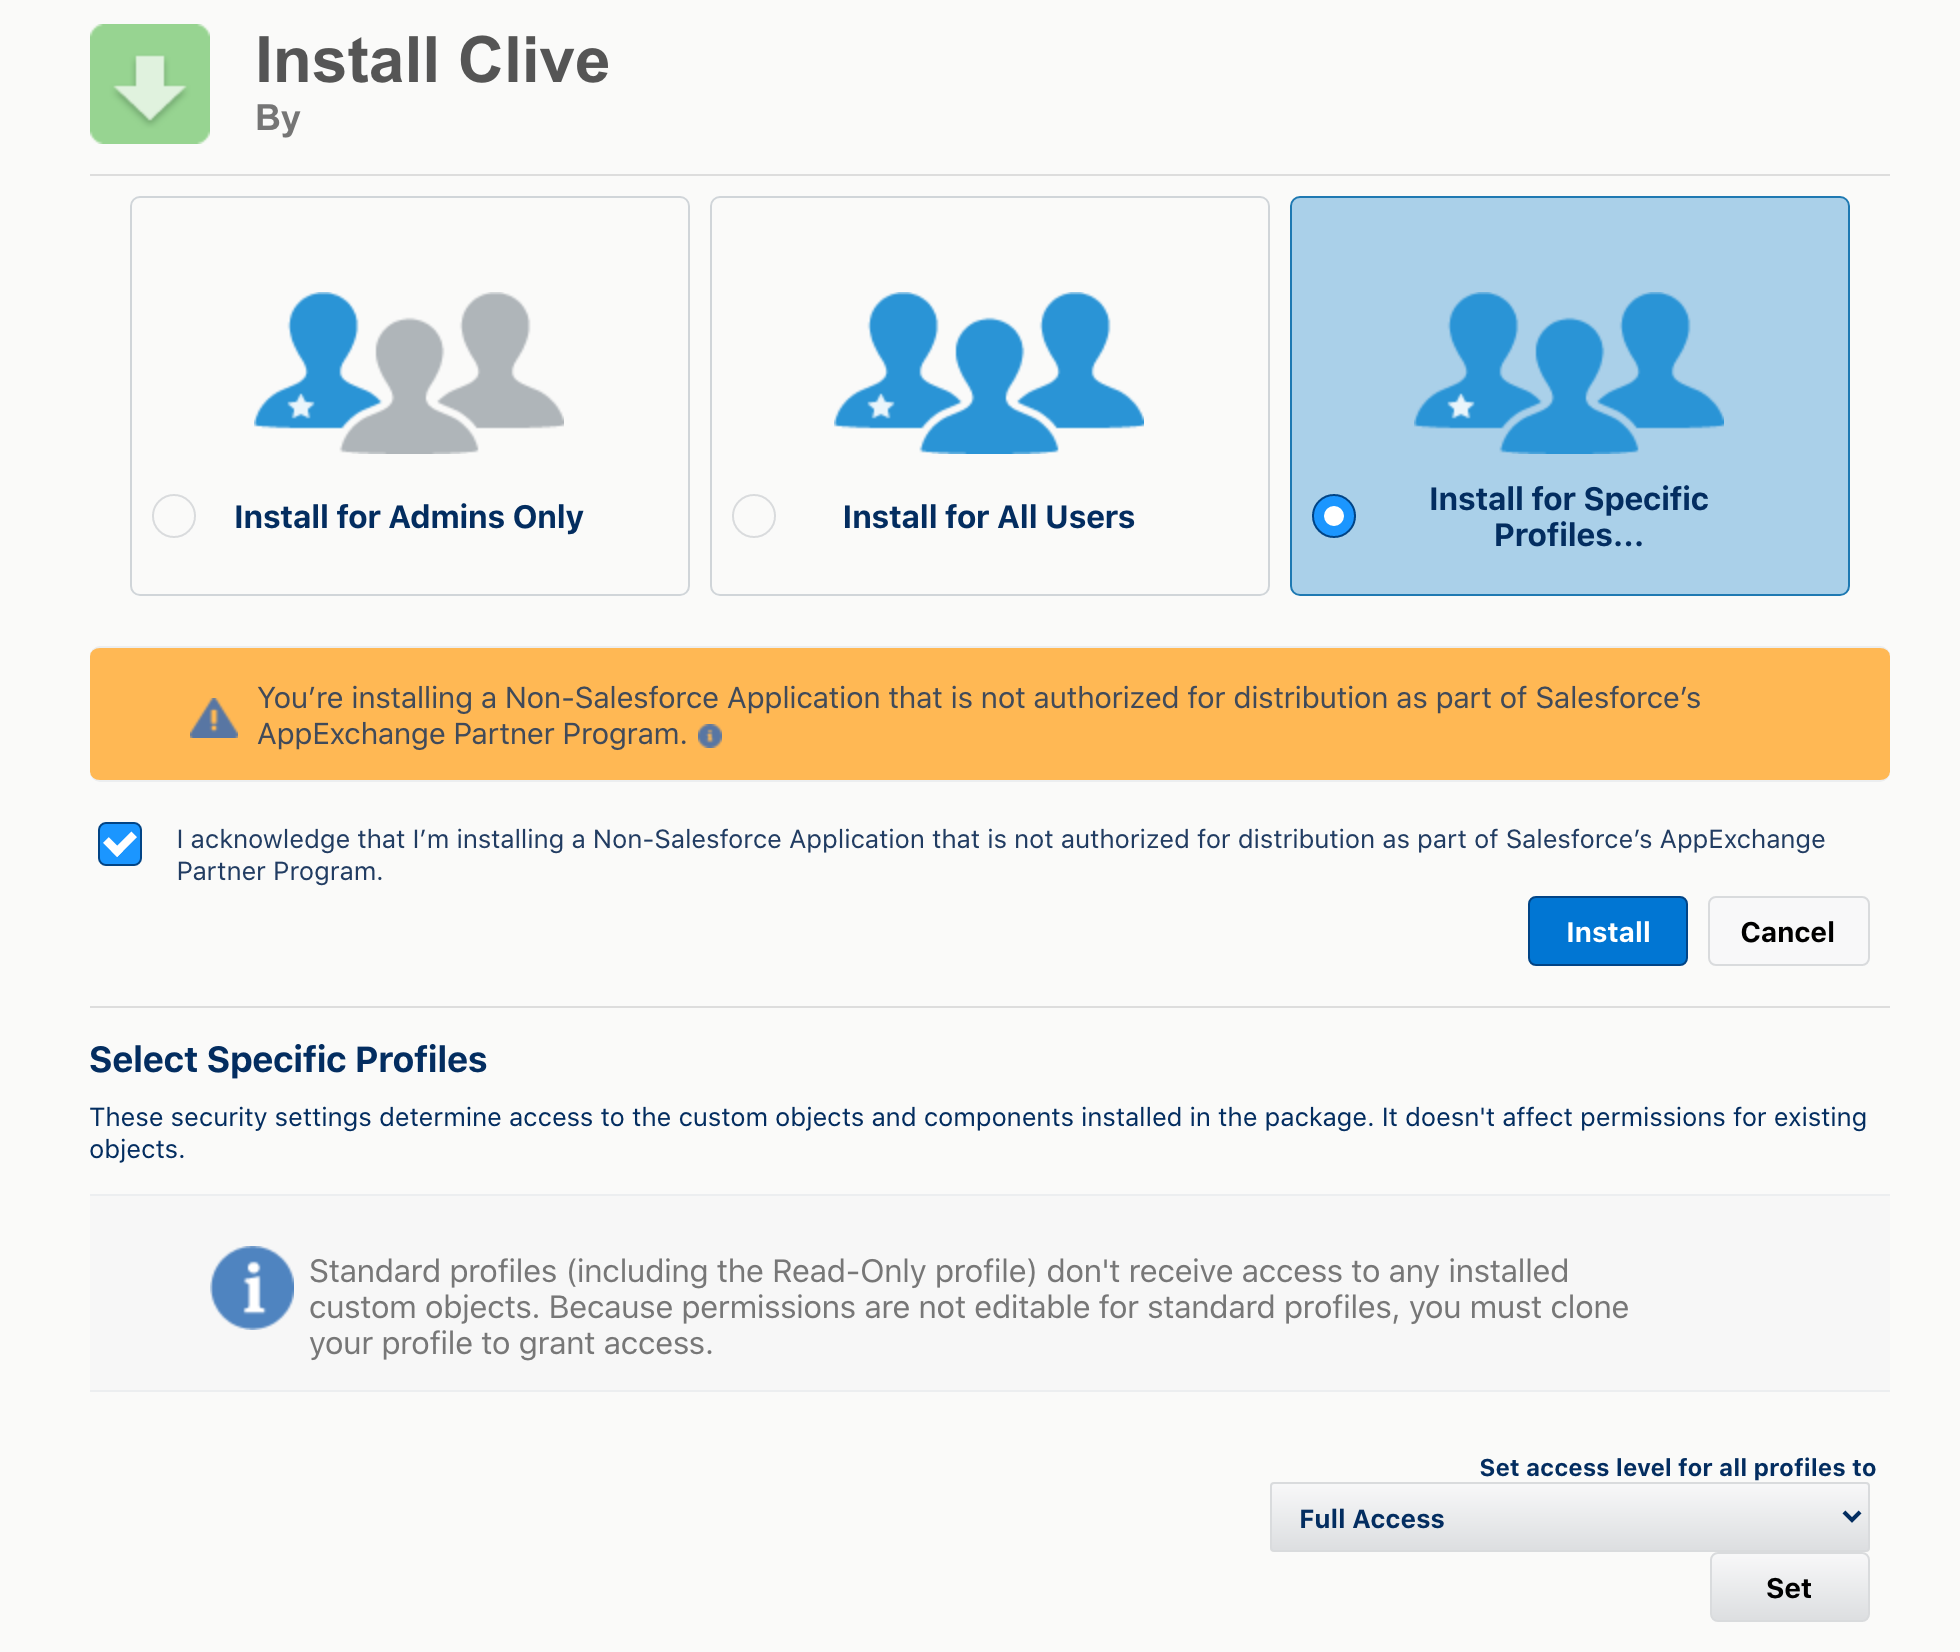
On the installation screen:
- Select Install for specific profiles...
- Under Set access level for all profile to, select Full Access and click Set.
- Check the box next to the acknowledgement.
- Click Install to install the Clive managed package.

Enabling the Salesforce Integration in Clive
In Clive, navigate to Administration > Integrations area using the left navigation. Click Enable next to the Salesforce integration and follow the onscreen instructions to authenticate with your Salesforce account.
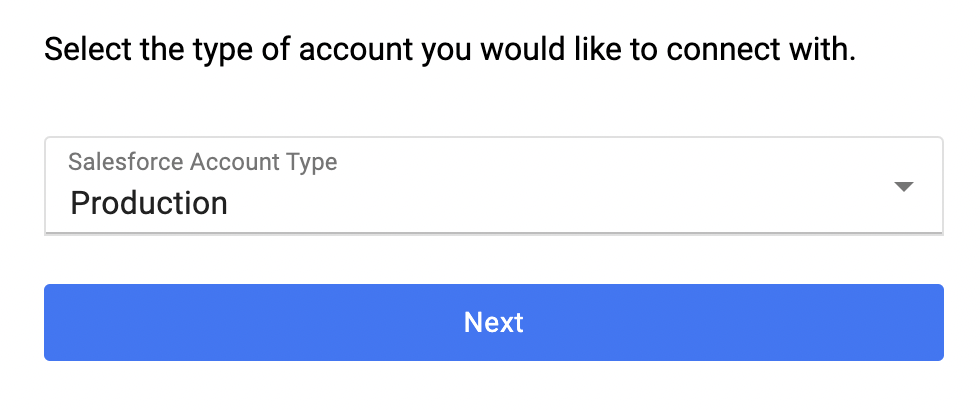
Under Select the type of account you would like to connect with, select Production. Note: you can test this in a Salesforce Sandbox first if you have one configured.

Configuring the Salesforce Integration
Visit the Admin > Integrations area, click Manage next to the Salesforce integration, and configure the following settings:
- Visitor attribute mappings - your existing explicit Visitor Attributes in Clive will be listed here. See "Mapping Visitor Attributes to Salesforce fields" below for more information.
- General Settings
- Sync visitors as - choose whether visitors are created as either Contacts or Leads in Salesforce.
- Overwrite Salesforce data with Clive data - enabling this setting will allow Clive to overwrite existing data for a Contact or Lead in Salesforce with Clive data for attributes mapped here.
- Match Clive Visitors to Salesforce Leads/Contacts using - choose whether Clive matches a Salesforce Contact or Lead by either their Email address or Full Name in Salesforce.
Mapping Visitor Attributes to Salesforce Fields
When a Visitor Attribute in Clive is updated by a form submission, you can choose to map that attribute to a corresponding field in Salesforce, which will be filled or updated (depending on your settings) by that new value.
There are two ways you can map Visitor Attributes in Clive to Salesforce fields:
- Visit the Admin > Integrations area, click Manage next to the Salesforce integration, and select the appropriate field(s) under Salesforce Field Name alongside one or more Visitor Attributes.
- Or visit Visitors > Visitor Attributes, edit an attribute, and select the appropriate field under Salesforce Field Name.
Viewing Visitors in Salesforce
If a visitor has been successfully created or updated in Salesforce by Clive, you'll see a View in Salesforce button in the visitor's profile. You can follow this link to view the corresponding Contact or Lead in your Salesforce account.

You'll also see a Clive Visitor Link and Clive Latest Form Submission link on the associated Salesforce record which you can use to navigate back to and view the corresponding visitor or form submissions in Clive.
Testing the Salesforce Integration in a Sandbox Account
If desired, the Salesforce integration can be tested in a sandbox Salesforce account before moving to a production account.
If you do not already have a sandbox Salesforce account, follow the link below to create one.
Note: We recommend using a Partial Copy sandbox.
See "Create a Sandbox" from Salesforce Help
Once the sandbox is created, you must install the Clive managed package in the sandbox account. If you are not already logged into the sandbox, you will need to login using the credentials specific to the sandbox and not your normal salesforce username and password.
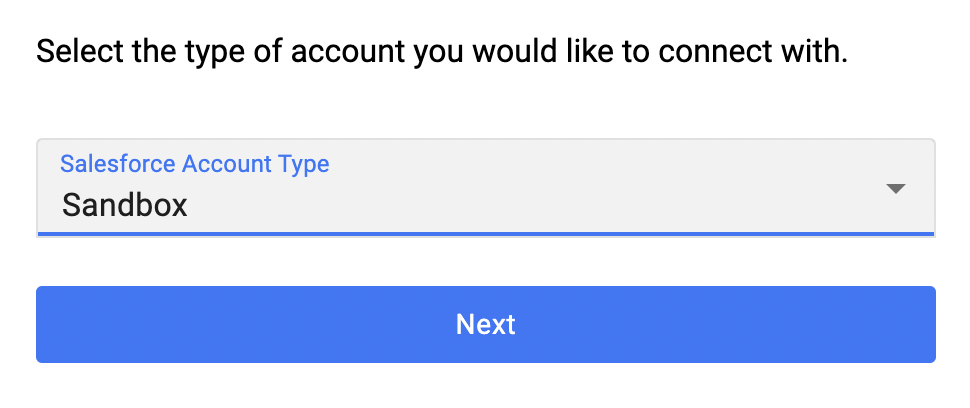
After the managed package is installed, you will need to enable the integration in Clive. Note that when presented with the pop-up authentication dialog after clicking Enable, you will need to select Sandbox instead of Production for the Salesforce Account Type as seen below.

Then proceed as normal but login using your sandbox username and password as you did when installing the managed package.
Once the integration is linked to the sandbox account, all data synced from Clive form submissions will go into the sandbox and not into your production Salesforce account.
Common Issues
- If you don't see the Clive Visitor Link and Clive Latest Form Submission fields on Leads/Contacts in your Salesforce account, you may need to edit your Page Layout for Contacts and/or Leads and select those fields to display.
- If after submitting a Clive form you do not see the submission data reflected in your Salesforce account, an error may have occurred while syncing that form. To verify if this is the case, visit the Admin > Integrations area in Clive and check for an error message in the Status column of the integrations table.